Create Automatic Patch Test
You can create a new Automatic Patch Test directly into the system when you are logged in from the list page.
To do so, Click the Create button on the top-right corner of the page and a popup appears as shown below.

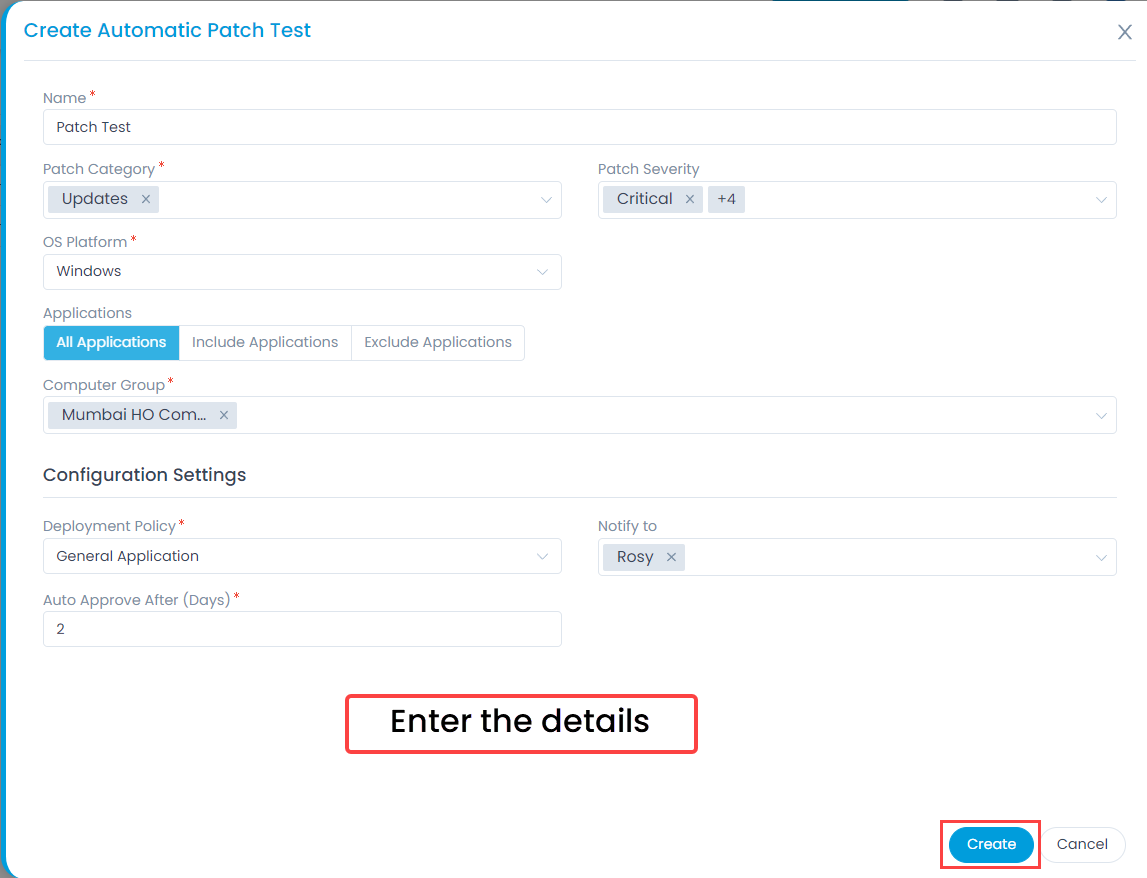
Enter the following details:
- Name: Enter the name of the patch test.
- Patch Category: Select the patch category from the dropdown.
- Patch Severity: Select the patch severity from the dropdown. The values are Critical, Important, Moderate, Low, and Unspecified.
- OS Platform: Select the the OS Platform from the dropdown list. Application specific filters can be applied after choosing the OS platform.
- Applications: Select the applications on which the patch test is to be performed.
The options are:
- All Applications: It will include all the applications in the system.
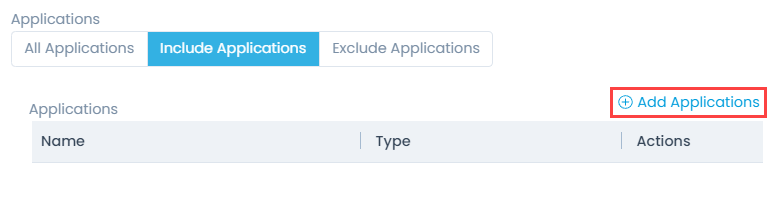
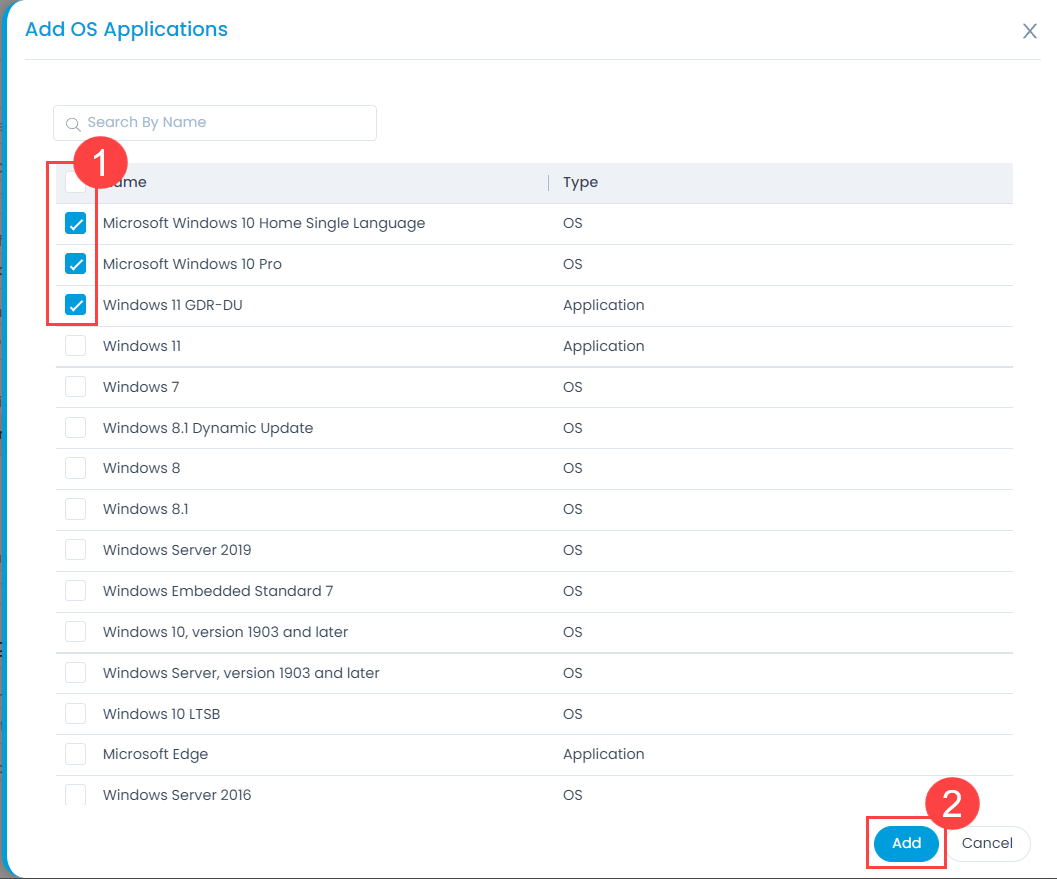
- Include Applications: It will include all the applications selected using the Add Applications link on the right corner as shown below.
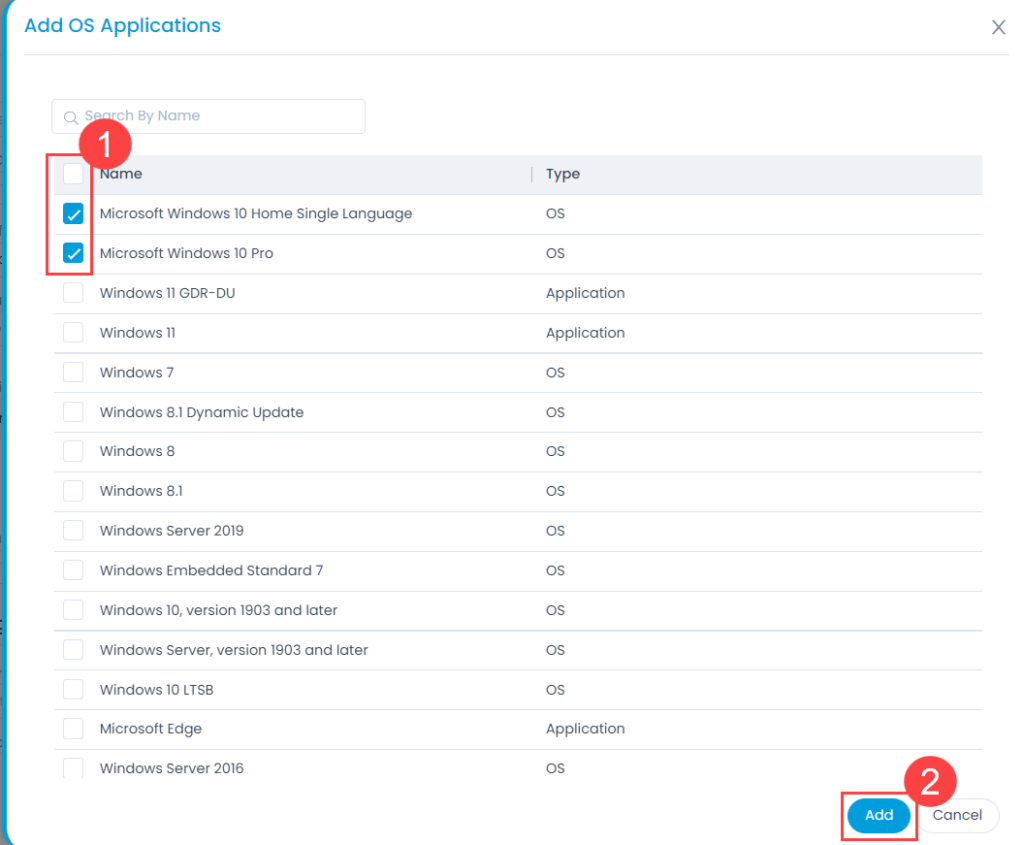
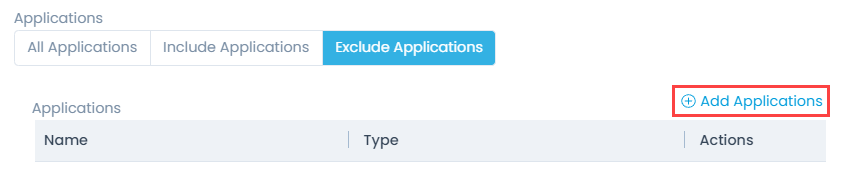
- Exclude Applications: It will exclude the applications selected using the Add Applications link on the right corner as shown below.
- Computer Group: Select the group of computers from the dropdown. You can add new groups. For more details, click the link Computer Groups.
Configuration Settings
- Deployment Policy: Select the deployment policy from the dropdown. You can also create a new policy. For more details, click the link Deployment Policies.
- Notify to: Select the users from the dropdown to whom you wish to notify about the patch test.
- Auto Approve After (Days): Enter the number of days after which the approval is to be given.
Once you are done, click Create, and the Automatic Patch Test gets created.