Creating a Contract
You can create a new contract directly into the system when you are logged in. To create a Contract,
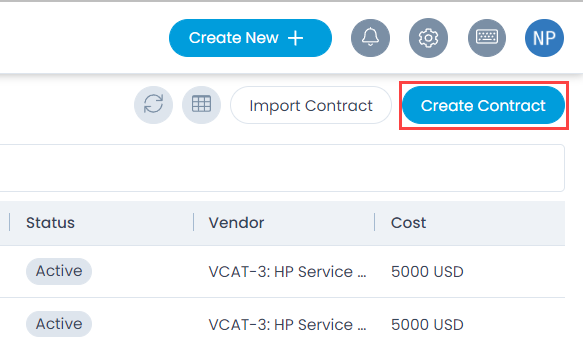
- Navigate to the Contracts page and click the Create Contract button on the top-right corner of the page. The following page appears.
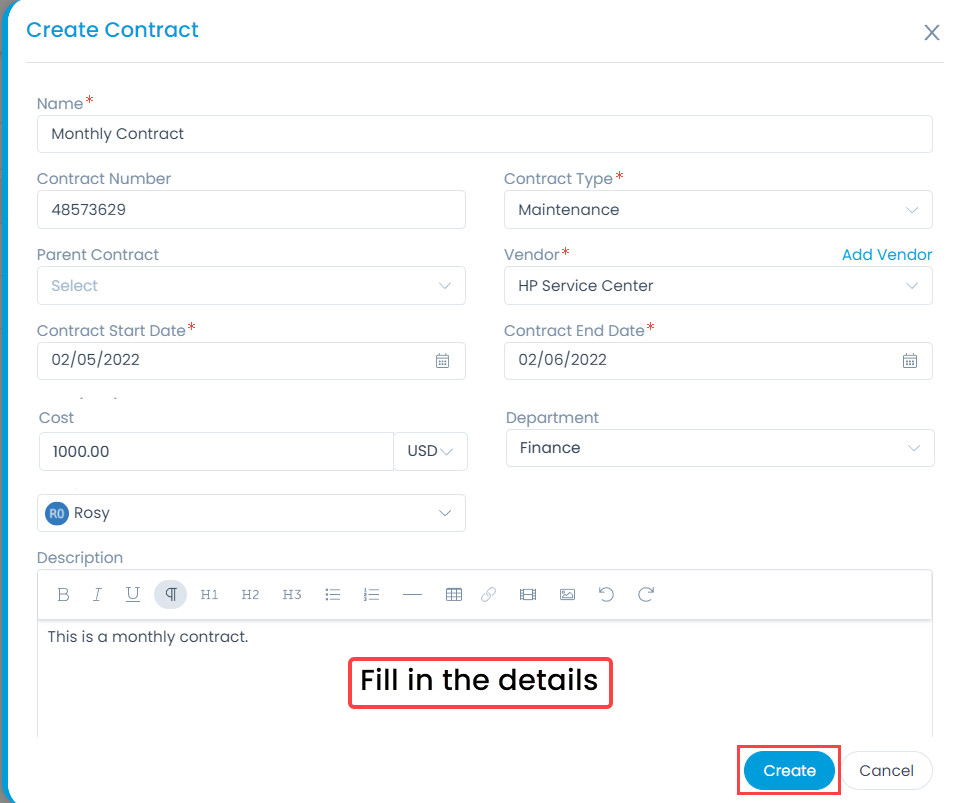
- Enter the following details:
| Parameter | Description |
|---|---|
| Name | Enter the name of the contract. |
| Contract Number | Enter the number of the contract. |
| Contract Type | Select the type of contract from the dropdown. The default options are: Lease, Warranty, Maintenance, and Support. To configure additional contract types, click here. |
| Parent Contract | Select the contract which you want to associate as a parent contract from the dropdown. The dropdown displays all the contracts available on the Contract List View page. Once a contract is assigned as a parent, its children contracts will be available in the Child Contracts tab of the Contract Details Page. |
| Vendor | Select the vendor with whom the contract is to be created. You can also add a vendor if not available in the list. For more details, refer to the Vendor Catalog page. |
| Contract Start Date | Select the date from which the contract will start. |
| Contract End Date | Select the date till which the contract will end. |
| Cost | Enter the cost of the contract. You can also select the currency. |
| Department | Select the department. |
| Owner | Select the owner of the contract. |
| Description | Enter the description of the contract. |
| Attachments | Attach the documents related to the contract. |
- Once done, click Create, and a confirmation message appears. Once created, you can update or perform actions on it from the Details page.