9.6. Schedule a Report
You can periodically receive a generated Report via email using the Schedule option. You decide the time interval when to receive, and in what format you want to receive the Report.
In shared Reports, Schedules are user specific meaning that a user can manage and view Schedules that he creates.
In Private Reports, only the creator of a Report can make and view a Schedule.
9.6.1. Creating a Schedule
Go to the Report List View.
Select the Report for which you want to set a Schedule. Now click on Schedule from the Glance View.
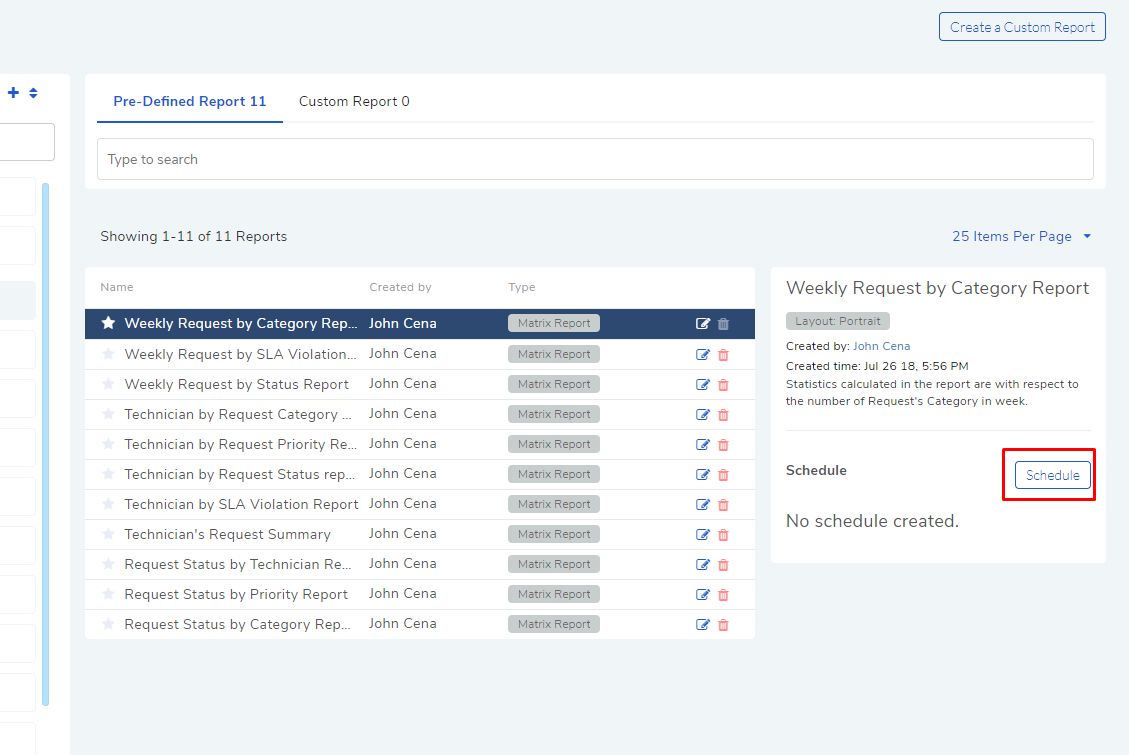
The following fields appear in a separate dialog box.
Add Technician Group
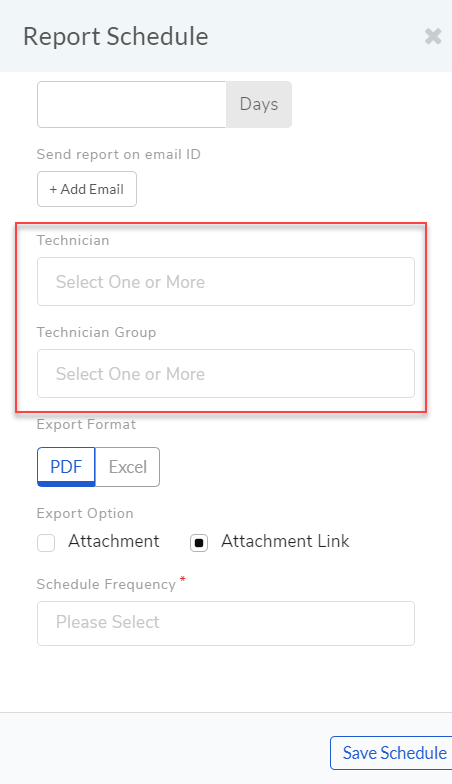
First, enter for last how many days you want the Report. The time range keeps moving with respect to the current data.
Then enter the email address/addresses where the report is going to be sent.
The Scheduled report can be sent to a particular Technician or a complete Technician group which eliminates the manual adding of email-id’s list.
Choose a format for the Report. It is either PDF or Excel.
Export option helps to send the report using attachment as well as attachment link too.
The last thing to do is selecting a frequency. This determines how often you get a generated Report. We have the following frequencies:
Once: Get a Report once at a specific date and time.
Daily: Get a Report daily at a specific time after a specific date and time.
Weekly: Get a Report on certain days of a week.
Monthly: Get a Report on a specific date of certain months of a year.
Interval: Get a Report at a specific interval set in minutes.
There are plenty of options to choose from when selecting a Time Zone. Set the Time Zone you want to follow based on which Schedule Time is set.
When you are done, click on Save Schedule.
Editing a Schedule
In the Report List View, select a Report with a Schedule
The Glance View shows the settings of the current Schedule.
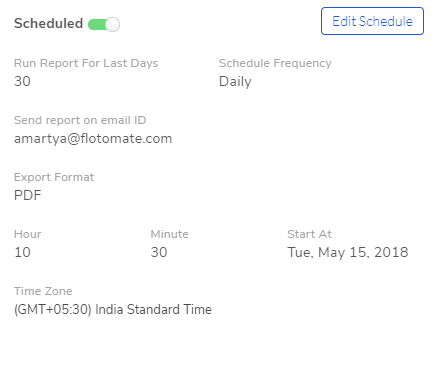
You can turn the Schedule off using the Scheduled toggle. Click on Edit Schedule to open the Report Schedule dialog box.
When you are over with your editing, click on Save Schedule.