2.10. Managing Announcements for Problems
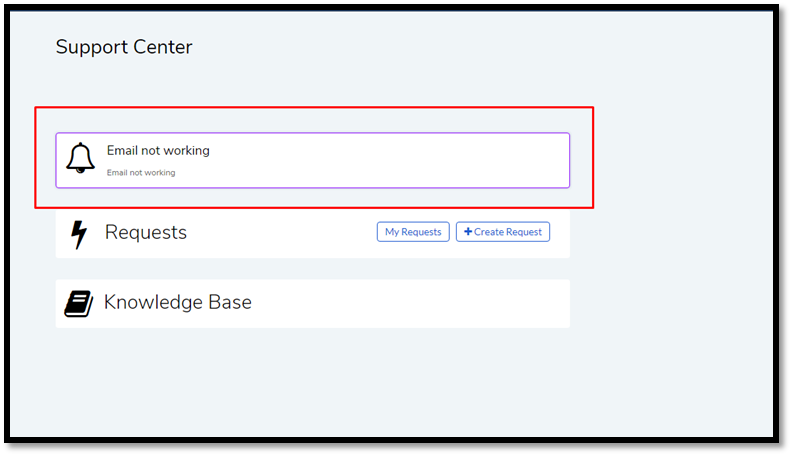
An announcement is a statement made to the public (Customers and Technicians) or on a particular portal which gives information about something that has happened or that will happen. For example: an announcement can be made stating that the Helpdesk will be down for a certain period.
You can run an Announcement on both Customer and Technician Portals.
2.10.1. Creating Announcement from List View
Log in to the Technician Portal.
Go to Problem >> Problem List View.
Click Manage Announcements situated in the top right corner of the page. The Announcements page opens.
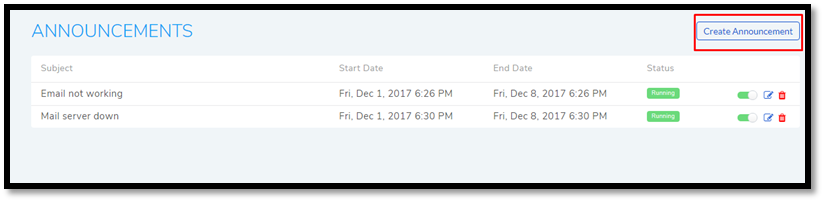
Click on Create Announcement. The Announcement dialog box opens.
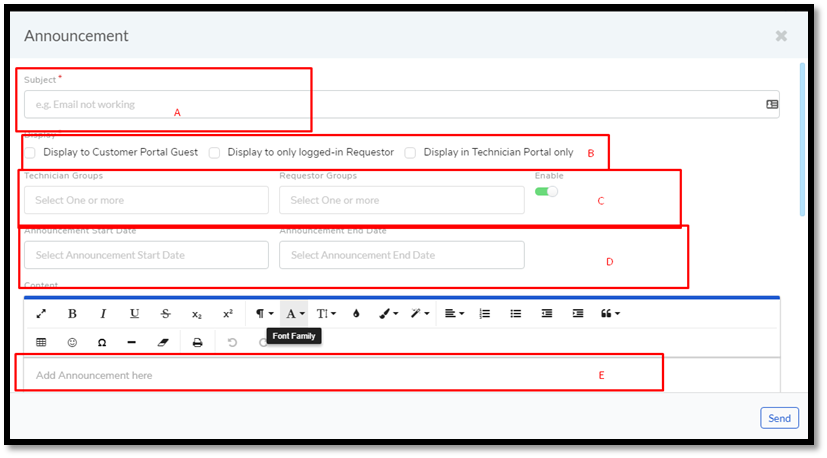
In section-A (
pmf-76), you enter the Subject of an Announcement is the first line of the message. It is supposed to give a brief introduction of the message.Note
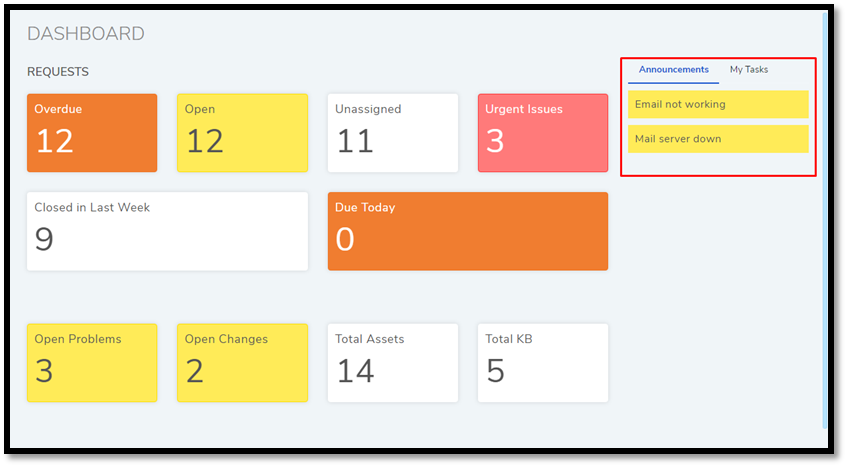
All Announcements are visible to Technicians on their Dashboard (Under Announcement tab) in the Technician Portal.
In section-B, you have to select a display mode out of three. You get the following options:
Display to Customer Portal Guest
The Announcement is visible on the Customer Portal (Home Page) even when people are not logged in.
Display to only logged in Requestors
Requestors can view the Announcement on the Customer Portal after sign in.
Display in Technician Portal only
The Announcement is visible to the Technicians on the Technician Portal.
In section C, you can send the Announcement as email to a group or groups. Motadata allows you to send to both Technician and Requestor Groups or any one of them.
All Announcements in Motadata are scheduled. They begin on a start date at a specific time and end on an end date at a specific time. In section D, you can enter the Start Date-Time and the End Date-Time of the Announcement.
The body of the message goes into the text editor (section-E).
When you are done with your setup, click Send to add your Announcement to the Announcements list. Once added, it is scheduled to begin on the start date.
2.10.2. Creating a Problem-Specific Announcement:
Choose a Problem and go to its Details View.
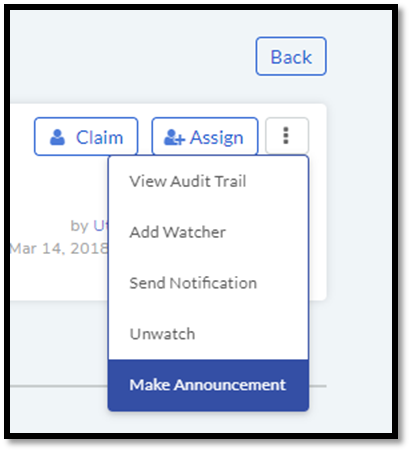
In Details View, click on the Action Menu option and select Make Announcement.
The Announcement page opens with the Subject and the Body prepopulated with the Problem identifier and a link to the Problem (Link is added only in the Body section). Select the Groups (Technician and Requesters) that sees the Announcement. Enter a start date-time and an end date-time.
Click Send to add your Announcement to the list.
2.10.3. Editing an Announcement
Go to Problem List View >> Manage Announcements >>Announcements.
Click on the Edit Icon next to the Announcement that you want to change.
Make the changes in Create Announcement dialog box and click Send to save your changes.
2.10.4. Deleting an Announcement
Go to Problem List View >> Manage Announcements >>Announcements.
Click on the Delete Icon adjacent to the Announcement that you want to delete. On confirming the Announcement is deleted.
2.10.5. Turning off an Announcement
Go to Problem List View >> Manage Announcements >>Announcements.
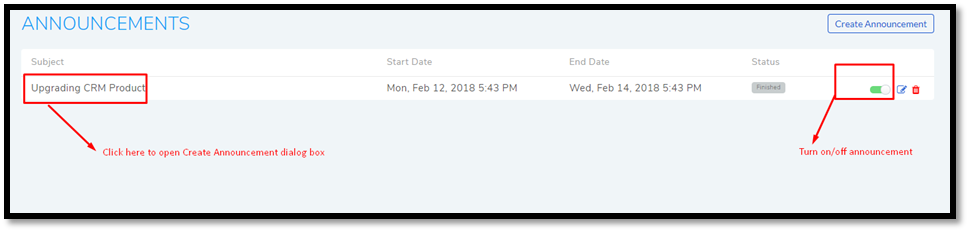
There is toggle button adjacent to every Announcement. Use that to toggle on/off any Announcement. You can turn off an Announcement from its Create Announcement dialog box.