2.2. Creating a Problem
The purpose of creating a Problem is to minimize the adverse impact of incidents and problems caused by errors within the IT infrastructure and to prevent recurrence of such errors.
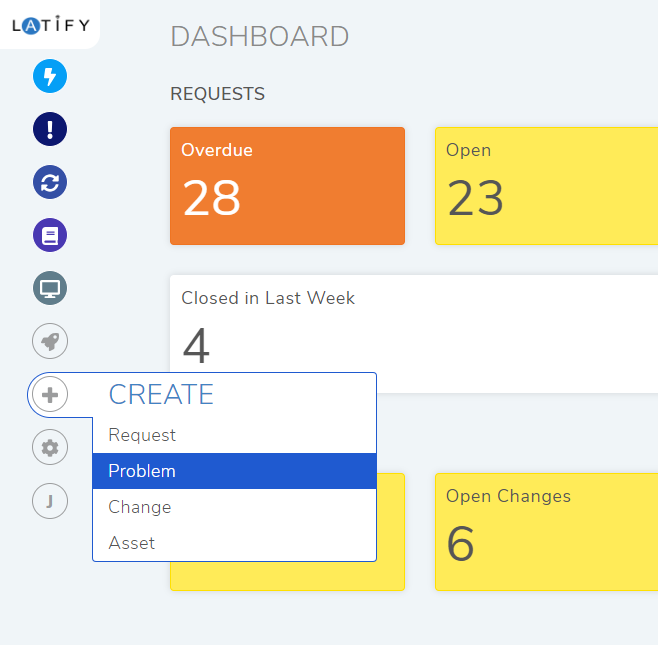
A Problem can be created from the Technician Portal only using the Create a Problem dialog box. There are two to ways to access the Create a Problem dialog box.
Press the letter P in your keyboard while logged in, or.
Click on the Create (Plus Icon) button from the Navigation tab and then select Problem.
To create a Problem:
Note
Problems can be created only from the Technician Portal.
Open the Create a Problem dialog box.
Note
Please refer pmf-2 & pmf-3 for below description.
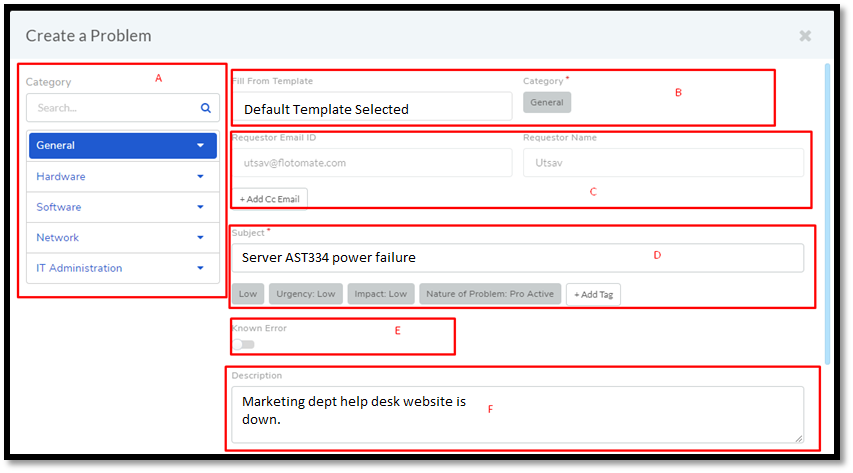
Section-A is where you search and add a category for the Problem. It is a way to categorize a Problem. Motadata provides five predefined categories out of the box. Only a user with Admin rights can add more categories to the list.
Each category may have sub-categories and may go down to another level (maximum three levels supported).
Select a category that best describes your Problem. For example: If your Problem is about a faulty router the select Network as the category.
You can fill the form using a template which is a quicker way to create Problems that are recurring. Section-B has the field that lets you populate the form from a custom template.
You can manage custom templates from Problem Templates (Problem Management) in Admin. Please refer the Administration Manual on how to add templates.
Note
The person who creates Templates must have administrative rights.
Loading a custom Template (if any) performs the following changes:
It populates the Subject of the Problem.
Know Error.
Priority of the Problem.
Urgency level of the Problem.
Impact of the Problem on the organization.
Nature of the Problem
It can add Tags to the Problem.
Category of the Problem.
It can add a Description.
Select a template if you have one. Section-B also highlights the selected category.
Requestor email and name goes into their respective fields (Requestor Email ID and Requestor Name) in section-C. You can add other emails using Add Cc Email. This adds them to the Watcher List, which means they receive essential email notifications related to the Problem.
Section-D has the Subject line and classifiers. The Subject gives an intro to the Problem, and it is a required field.
Status, Urgency, Impact, Nature of Problem and Tags (Add Tags) are the classifiers that you can set while creating a Problem. Related Topic, Classify a Problem.
Add a subject and set the classifiers.
Section-E allows you to classify the Problem as known if you turn the toggle on.
Section-F is the Description area which gives a detailed explanation of the Problem. It should talk about the Incidents that lead to the creation of the Problem. Write a compelling description of the Problem.
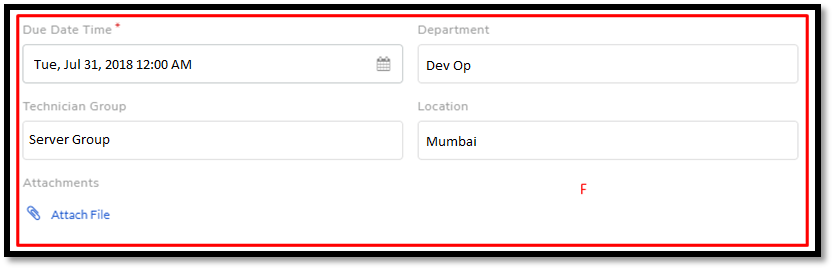
Section-G has the following fields:
Due Date Time field sets a timeline for the Problem resolution;
Adding a Technician Group earmarks the Problem to a particular group of Technicians.
You can classify the Problem by Department and Location.
You can add custom fields in this section.
You can attach additional documents to support the Problem description.
Once you are done filling the Create a Problem form and hit Create. Now you have successfully created a Problem.