1.2. Motadata Service Desk – Server Installation via ISO Guide
Describes ISO Installation Steps
1.2.1. System Requirements
Hardware Requirement:
4GB System RAM
Two Core Processor
Space: 100 GB Hard Drive
1.2.2. Product ISO Link
Download product ISO containing Ubuntu 16.04 from following link:
1.2.3. Installation Process:
Boot ISO.in your target machine
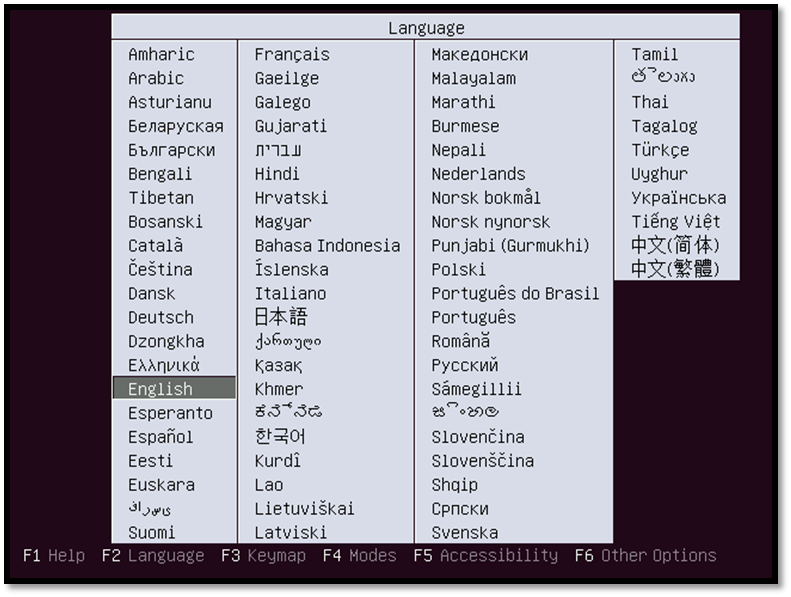
Select language:
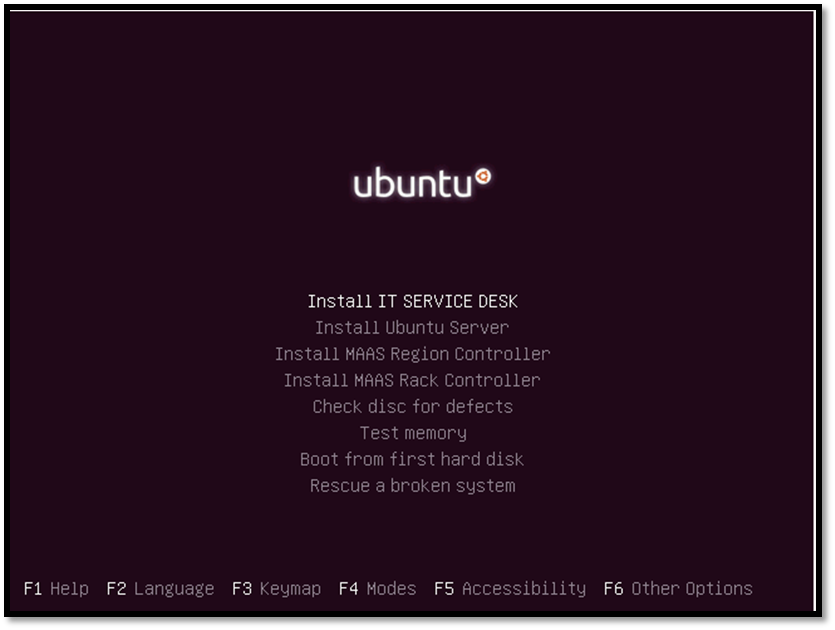
Select installation type, “Install IT Service Desk”.
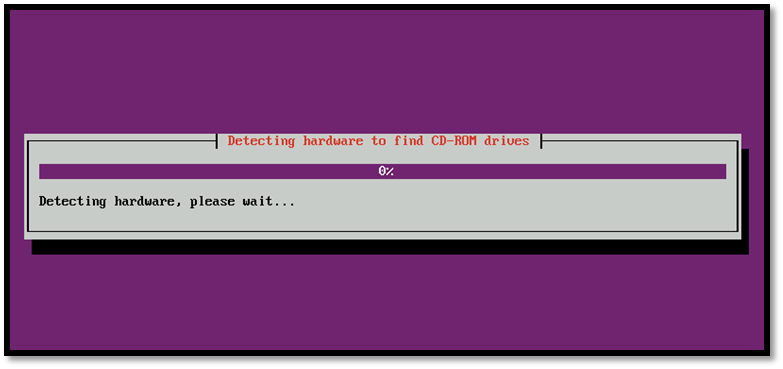
The installation process will start.
After installation is completed, log in with the credentials mentioned below:
Username: Jarvis
Password: marvel
Go to product directory using the below command:
cd /opt
Make Sure you have execute permission to build file. If it does not have execute permission then you can change it by following command.
sudo chmod 777 service_desk_master_CI
Run Installer by following command
sudo ./service_desk_master_CI

During Installation, Installer will prompt for Password. Please provide following password : mypassword.

During Installation, Installer will prompt for Tenant Name. You can set any name (must be all small letters without any special characters or spaces.)

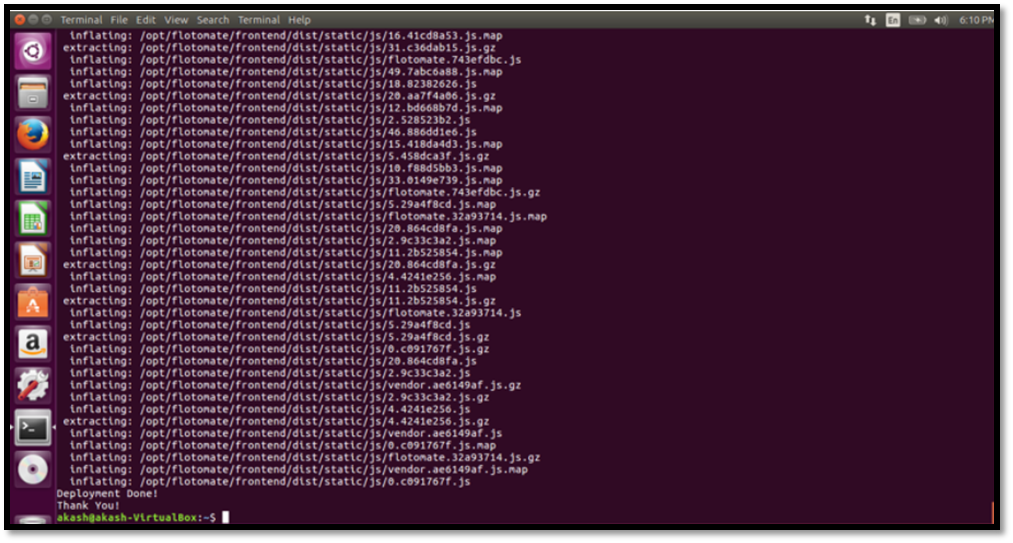
Once you see below screen, that means you have successfully installed the product.
After Installation,
Navigate to http://localhost/register, It will open Registration form as below :
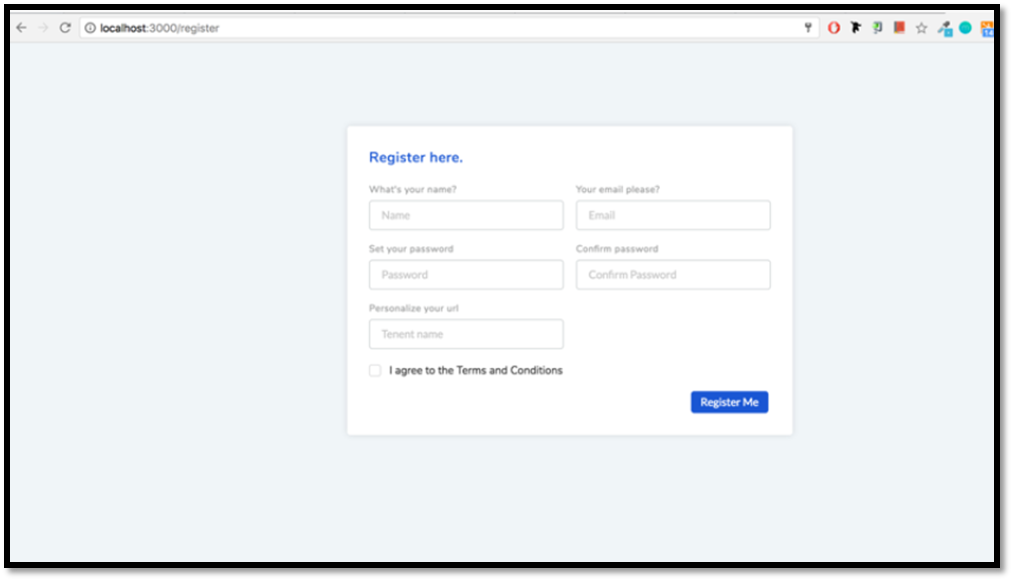
Please provide super admin user details there.
In Personalize URL field, make sure you put exact same name which you given as tenant name during installation process.
Now you can login to http://localhost with super admin user, Setup your organization, users and configure important setting to start using a product.

Note that:
You can login to Technician Portal by selecting ‘Technician Portal’ tab and,
You can login to Customer Portal by selecting ‘Support Center’ tab.
You can login to Customer Portal by selecting ‘Support Center’ tab.