6.1.1. Windows Agent Installation Guide
Describes Installation Steps for Motadata Windows Agent.
6.1.1.1. System Requirement :
Target Machine OS:
Windows 7 and above versions.
OS Architecture:
Windows (32 & 64 bit).
Installation Links
Windows(32bit): Click Here
Windows(64bit): Click Here
6.1.1.2. Installation in Windows
Note
.Net-Framework Version 3.5 required
Download the latest msi file from the given link.
Run the msi file.
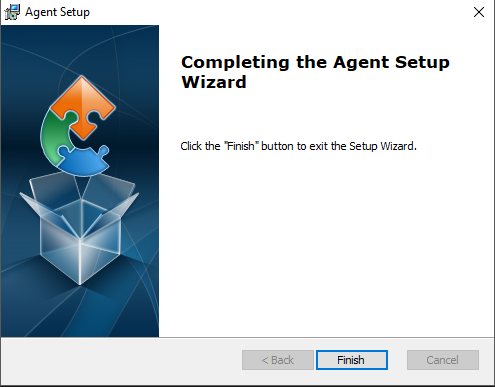
Follow the wizards as below mentioned screenshots:
Click Next
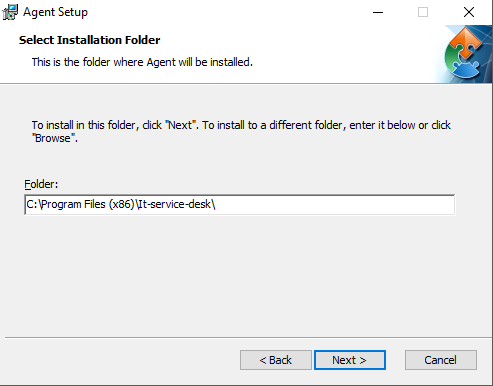
Click next
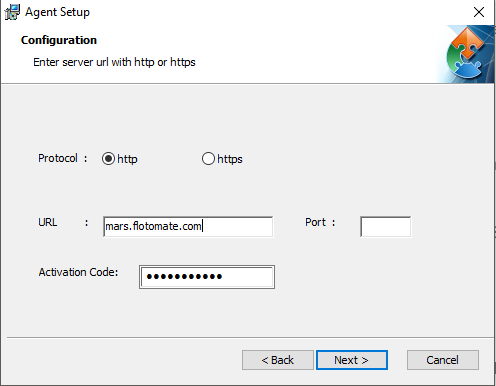
It will ask for URL and Port. Select a Protocol based on what the URL supports. If there’s no Port, then leave it blank. You can get the activation code from Motadata ITSM tool in Admin >> Account (under Organization).
Click next and finish installation process.
6.1.1.3. Installation using PsExec (For Windows)
Note
Must have system admin credential of computers for agent deployment.
Note
All computers have to be in the same network and domain (if present).
Download PSTools.zip. Extract the zip file to a folder in one of the system.
Download the agent.msi file.
Put agent.msi in the PSTools folder.
Add IP list and system credential.
Install agent using the following command.
It will take time for installing agent in all Computers.