5.1. Chat Server Setup
Chat Server allows immediate and extended support on live basis. If any user needs an urgent solution to a problem,chat support becomes a benefit.This feature is disabled by default and user needs to enable it
5.2. Download and Install Chat Server
You can download the Chat Server Engine (Windows) from the below link:
Windows 64-bit/32-bit: Download Link
Note: Need Internet connection for chat server Installation
After downloading Chat Server using above link, execute below commands.
Open server terminal and go to the directory containing plugin_server_CI. First change permission with the following command.
sudo chmod 777 chat_server_CI

Permission
Initiate installation of Chat server with the following command:
sudo ./chat_server_CI

Run chat server
Start the services of the Chat Server with the following command:
sudo systemctl start ft-chat-server
Start chat server
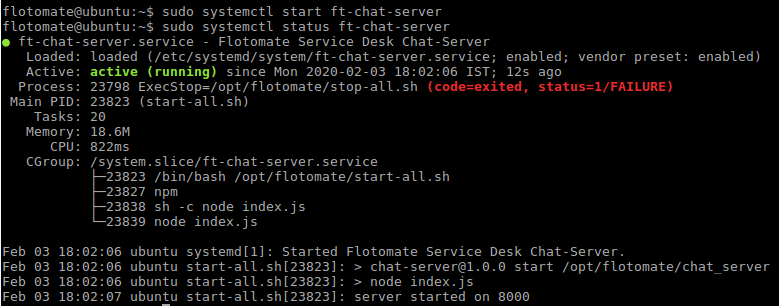
Check the status of the Chat Server with the following command:
sudo systemctl status ft-chat-server
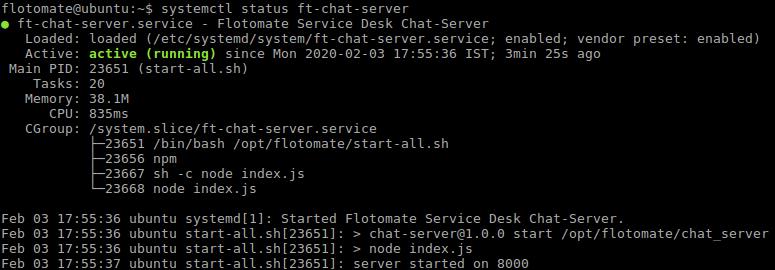
Status of chat server
Later, if user wants to diable the chat server he will need to diable the service by using the below command:
sudo systemctl stop ft-chat-server