7.2. Motadata RDP Middleware Installation Guide
Describes Installation Steps for Motadata RDP Middleware – 2.5.0
7.2.1. System Requirement:
Product built needs to be installed and configured in the Main Server.
7.2.2. Downloading RDP Middleware
You can download the RDP Middleware from the below link:
7.2.3. Manual Installation Setup:
Note
RDP port changed from 5900 to 5901 in both RDP agent and Main server.
After downloading the RDP Middleware, follow the below steps to install RDP on to your server
Log in to the terminal of the Main Server.
Change directory to the RDP Installation file.

Check whether you have the permission to execute the file.

Make Sure you have the execute permission to build the file. If it does not have the execute permission then you can change it by using the following command:
sudo chmod 777 rdp_middleware
Run the rdp_middleware executable file.

Close terminal after installation finishes.

Now you have to enable RDP in the product. Log in to the product’s Technician portal.
Go to Admin (A Navigation tab) >> RDP Configuration (Asset Management).

In the RDP Configuration dialog box, enable RDP.
Click on Configure RDP.
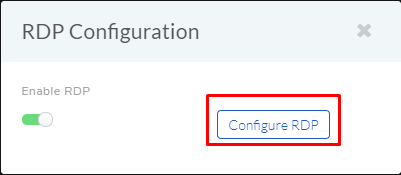
Now the product is configured with RDP.