4.2. Setting SSL Connection to Active Directory
In order to create a user, with password, in the Active Directory from Motadata using a plugin, an admin has to configure SSL connection between the plugin server and AD.
An admin has to generate a SSL certificate from the AD and configure the same in the plugin server. You need the following things installed on the Windows Domain Controller.
Prequisite
Internet Information Services
Windows Certificate Services
Windows 2000 Pack 2 (If you are using Windows 2000)
Windows 2000 High Encryption Pack (128-bit) (If you are using Windows 2000)
4.2.1. Step 1: Install AD Certificate Services
An admin has to install Certificate Services, if installed he can skip to step 2. The below screenshots are from Windows Server 2008.
Logs into AD as administrator.
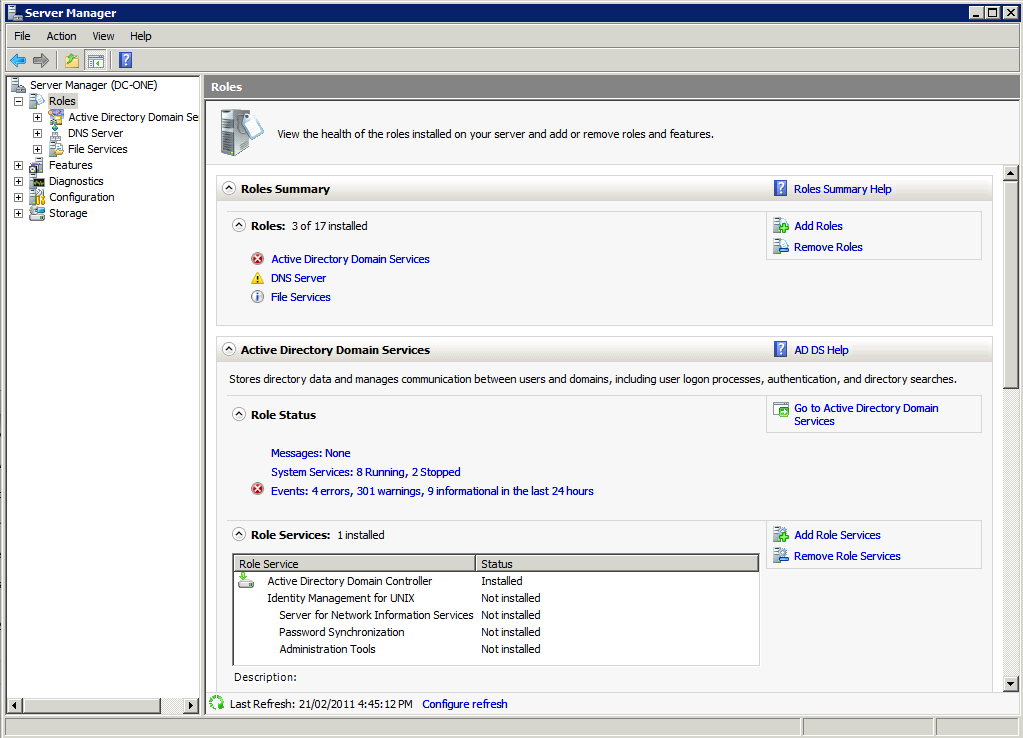
Goes to Start >> Administrative Tools >> Server Manager.
Clicks on Add Roles from the Roles Summary section.
On Server Roles page, selects Active Directory Certificate Services and then checks Next.

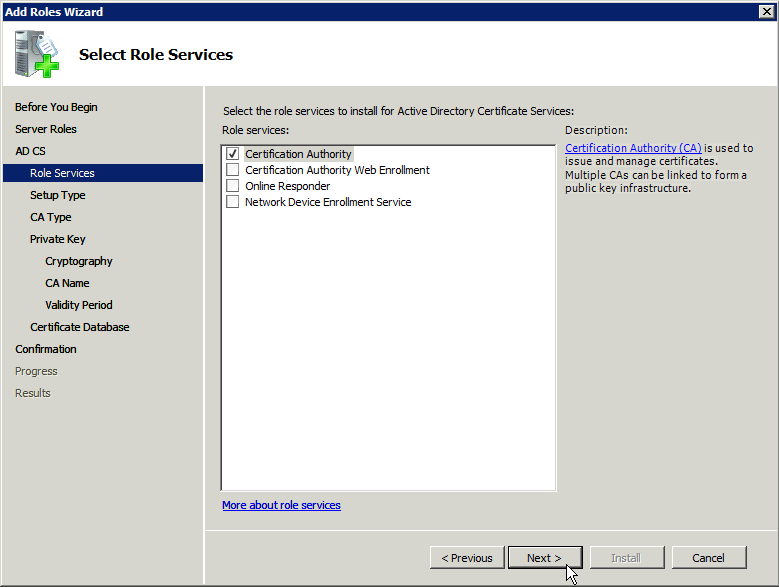
Selects Certification Authority from Role Services and clicks on Next.
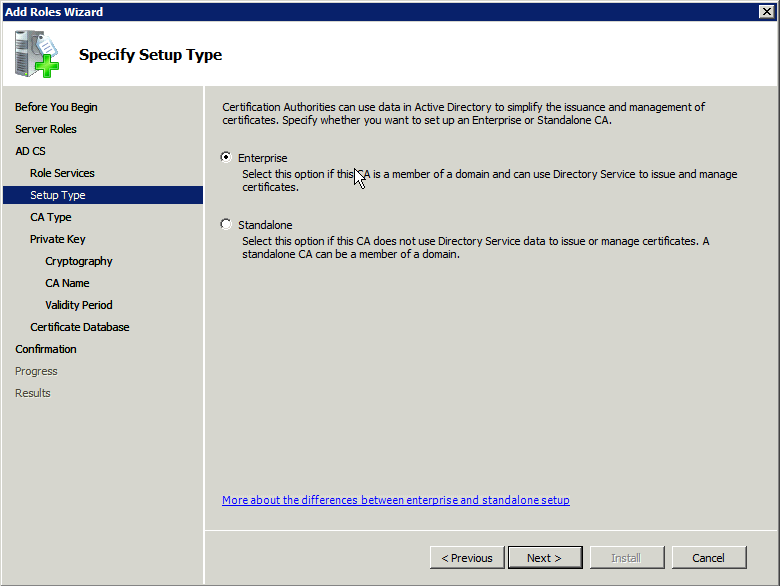
Selects Enterprise from Setup Type and clicks on Next.
Clicks on Root CA from CA Type and then clicks on Next.
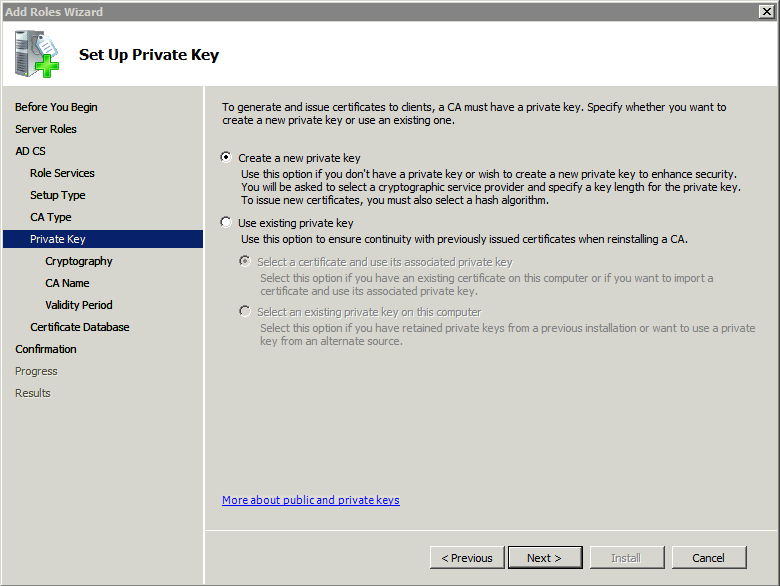
Admin can configure cryptography services from Private Key >> Cryptography. Keeping the default config is fine. He then clicks on Next.
Inputs the common name of the CA and clicks on Next.

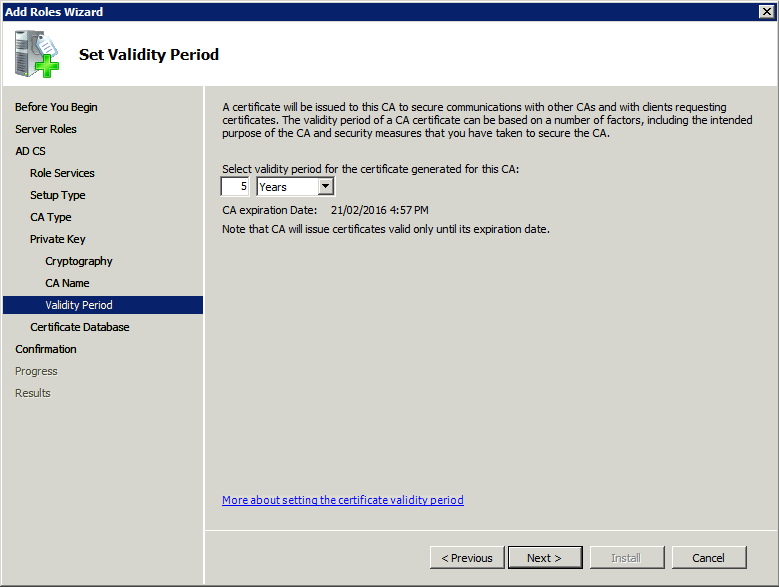
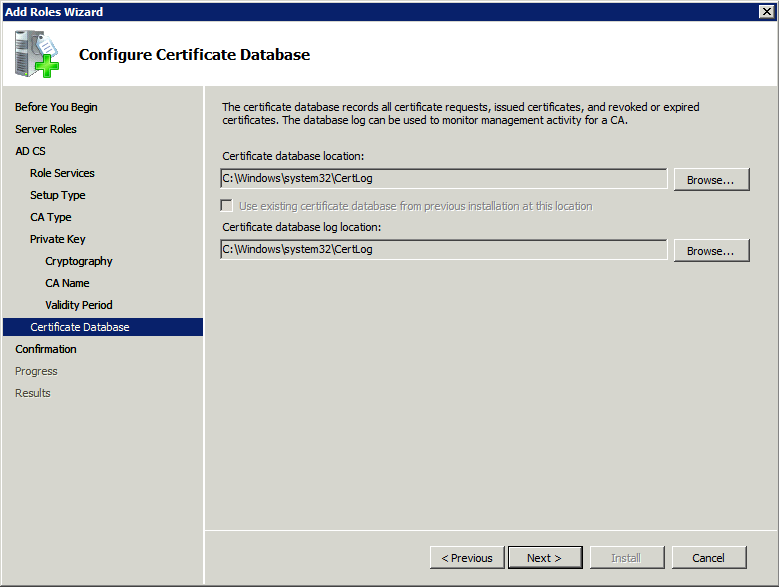
Accepts default values in the Validity Period and sets storage location for certificate in Certificate Database page, and clicks on Next.
Clicks on Install after verifying information.
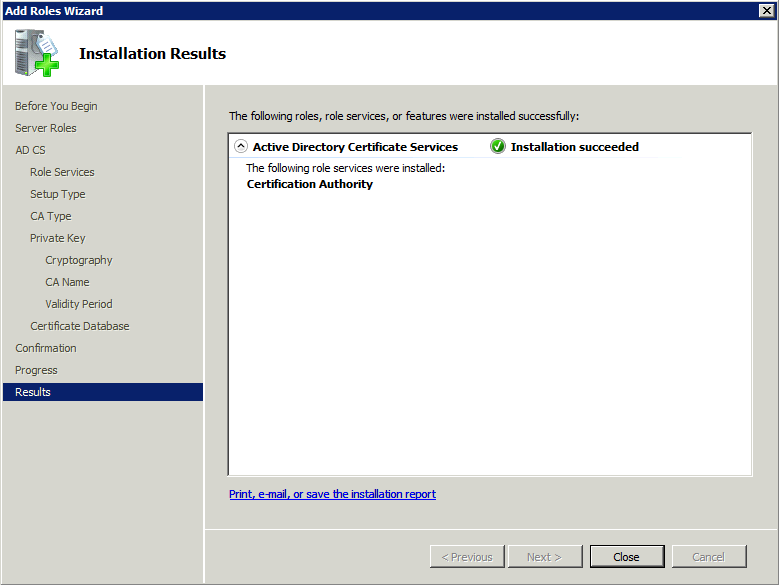
Admin verifies the installation from the results screen.
4.2.2. Step 2: Obtain Server Certificate
Admin will now add the SSL certificate to the list of accepted certificates.
Opens Run and enters certsrv.msc.
Admin right clicks on the name of the certificate (right hand side) and selects Properties.
Under General tab, admin selects View Certificate.
In new dialog box, selects Details tab >> Copy to File.
Export wizard starts. Admin selects Base-64 encoded binary X.509(.CER) option.
Enters location and name, and confirms export.
4.2.3. Step 3: Add Server Certificate as Trusted
Admin has to import the certificate created in the above steps to the AD server. This step ensures that a plugin can have a secure connection with the AD server.
Opens Microsoft Management Console (Start >> Run >> mmc.exe);
Chooses File >> Add/Remove Snap-in;
Chooses Add in the Standalone tab;
Chooses the Certificates snap-in, and click Add;
Chooses the Computer Account in the wizard, and then selects Local Computer. Ends wizard by clicking on Finish;
Closes the Add/Remove Snap-in dialog;
Navigate to Certificates in Local Computer.
Selects store to import: a. Chooses Trusted Root Certification Authorities in case of Root CA certificate from issuing company. b. Chooses Other People if certificate is from the server itself.
Choses All Tasks >> Import by right clicking the store.
Follow wizard and provide the certificate file.
Now we will import the certificate in the plugin server. Learn more.