Motadata Docs

Product ISO Link for Ubuntu 22.0.4.1 and 20.0.4.3

System Hardware Requirements

Download product ISO containing Ubuntu 22.0.4.1 and 20.0.4.3 from the following links:

Ubuntu 22.0.4.1: Click here

Notes:

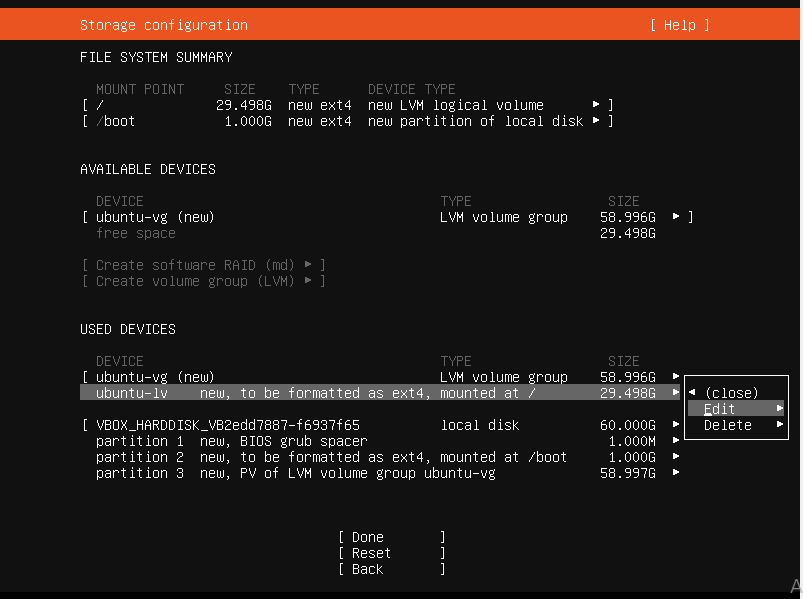
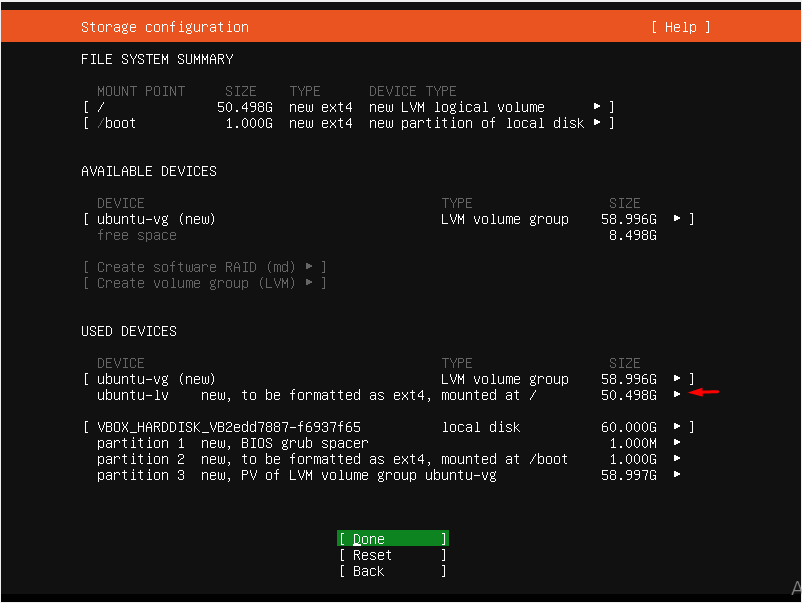
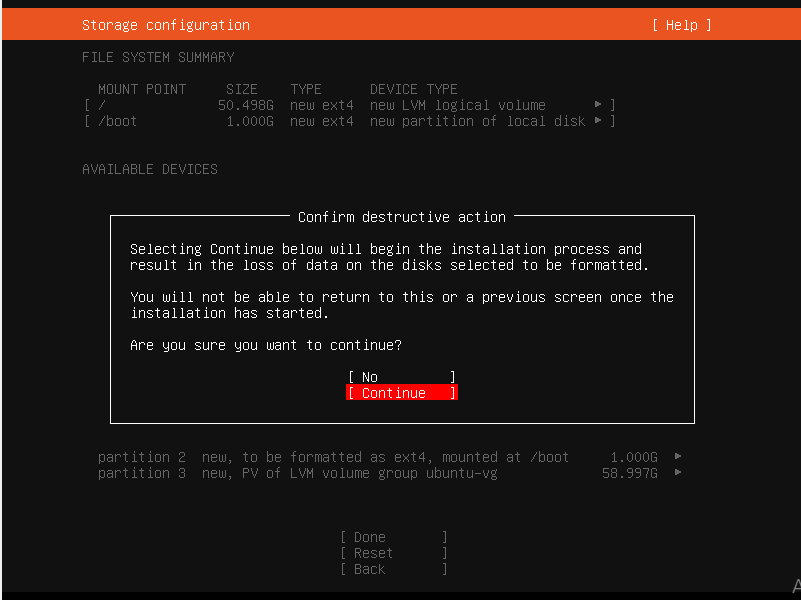
  • The partition must be of LVM type.
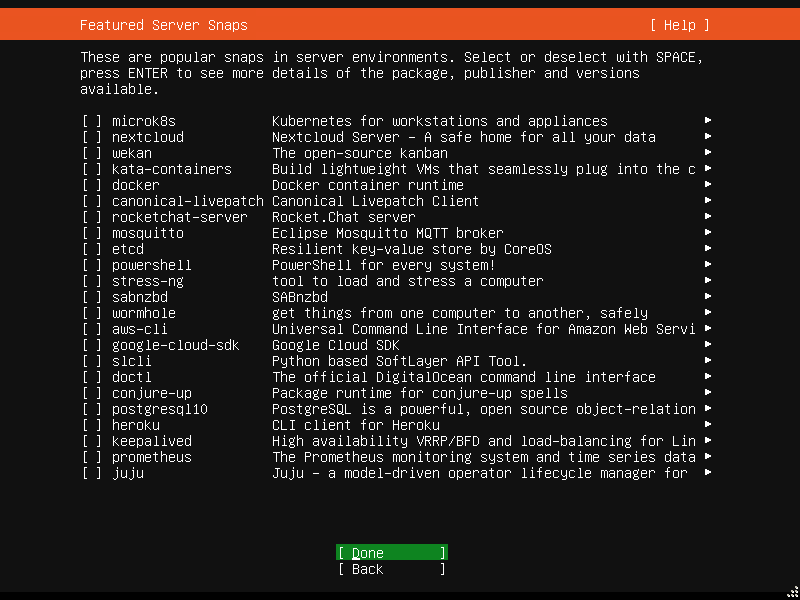
  • Do not install other features listed in the OS Installation steps.
  • You need to reinstall the VM again if any LVM default partition is not shown after installation.

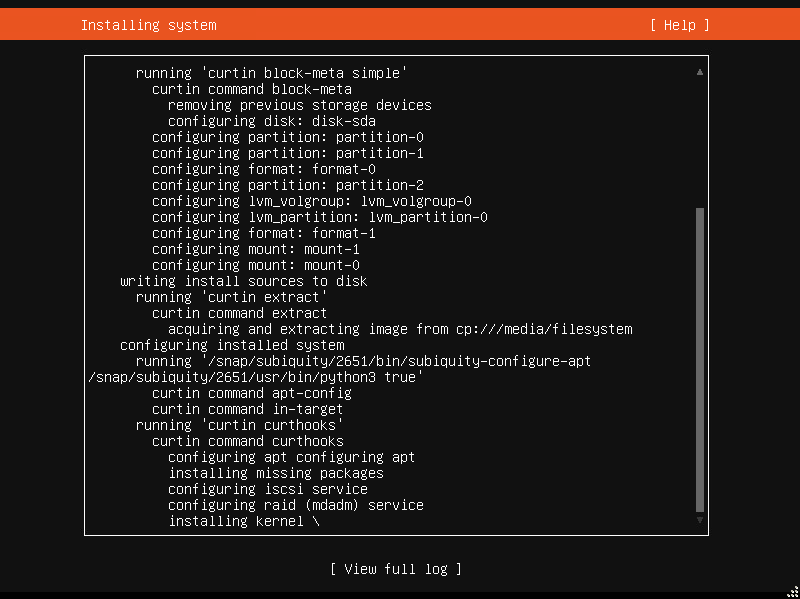
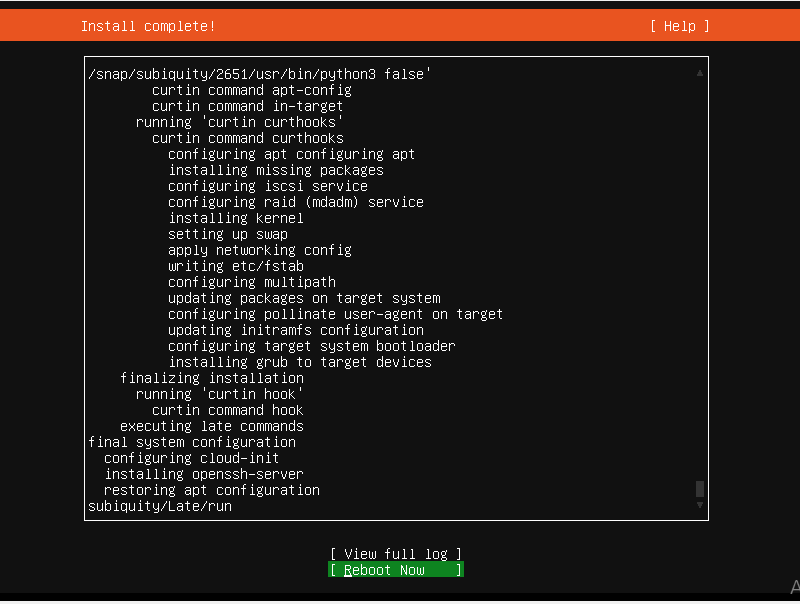
Installation Process

  1. Boot ISO. in your target machine.
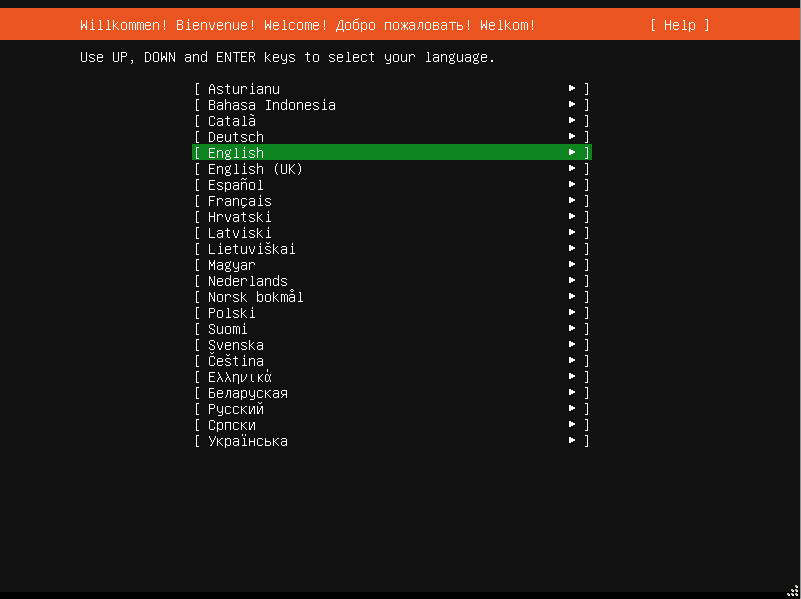
  2. Select the language. The preferred language is English.
Language Selection
Language Selection
  1. In the Installer update available, select the option Continue without updating.
Installer Update Available
  1. In the Keyboard Configuration, select Done. The default value is English US.
Keyboard Configuration
  1. In the Network Connections, if you have the DHCP network environment, select Done else configure the static network by adding the IP address, Subnet Mask, and Gateway details.
Configure Proxy
Configure Proxy
  1. In the Configure Proxy, enter the Proxy address if a proxy is required to be connected else select Done. You can configure the proxy after installation also.
Configure Proxy
Configure Proxy
  1. In the Configure Ubuntu archive mirror, select Done.
Configure Ubuntu archive mirror
  1. In the Guided Storage Configuration, select the Partition Type like below:
    1. Do not enable encryption.
    2. If custom storage is added, ensure it is of LVM (Logical Volume Management) partition type.
Guided Storage Configuration
  1. In Storage Configuration, if the LVM partition is proper, select Done. Else, you can edit it to increase or decrease its size using the Edit option.
Storage Configuration

Once selected, the below screen appears. Enter the size as per your requirement and select Save.

Storage Configuration

Select Done.

Storage Configuration
  1. Select Continue.
Storage Configuration
  1. In Profile setup, enter the username and password that will be used to login to the system. It is recommended to remember or save the details somewhere for future use.
Profile setup
Profile setup
  1. In the SSH Setup, select the option Install OpenSSH server for SSH connection.
SSH Setup
SSH Setup
  1. In the Featured Server Snaps, select Done and the server installation process begins.
Installing System
Installing System
  1. In the Install complete, select Reboot Now.
Install Complete
Install Complete
  1. The Service Desk Master CI will be available in the /opt folder.
  2. Make sure you have execute permission to build file. If it does not have execute permission then you can change it using the below command.
    chmod 777 service_desk_master_CI
Chmod Command
Chmod Command
  1. Run Installer using the following command:
    ./service_desk_master_CI
Installer
Installer
  1. Once you see the below screen, that means you have successfully installed the product.
Successful Installation
  1. After Installation, wait for five minutes. Navigate to http://{server_IP}/register, it will open the Registration form as below:
Registration Form
Registration Form
  1. Please provide the Super Admin user details there.
  2. Click on ‘Register’ once the form is filled. It will redirect you to the Login Page. Use the tab to switch between the Support and Technician Portal.
  3. Note that:
    1. You can login to Technician Portal by selecting the ‘Technician Portal Login’ tab.
    2. You can login to Support Portal by selecting the ‘Support Portal Login’ tab.

On this Page